Local DB Client "Navicat"
Introduction
This article describes the steps on how to configure Navicat to access the database. Database clients installed on your local machine typically offer an easy-to-use graphical user interface (GUI) that makes it easy to manage the database and its contents.
We assume that you are using a TYPO3-on-AWS machine image with the MySQL/MariaDB database server running on the same machine. It is also possible to operate a decentralized database server on another EC2 instance or to use an AWS service such as Amazon Aurora. Although the options of accessing these types of databases are similar to the ways described below, a detailed description is out of scope of this article.
Navicat
You can use Navicat to access the database server that runs on the EC2 instance. Although, the following instructions are based on Navicat Premium 15, you can set up other software versions in the same or very similar way.
"Navicat Premium is a database development tool that allows you to simultaneously connect to MySQL, MariaDB, MongoDB, SQL Server, Oracle, PostgreSQL, and SQLite databases from a single application. [...]. You can quickly and easily build, manage and maintain your databases." (Navicat website)
Configuration
Navicat (and some other database clients) support a standard TCP/IP connection over SSH to connect to your DB server on the EC2 instance. This approach is called a SSH tunneling.
Download Navicat from the official website and install/run the software.
Step 1
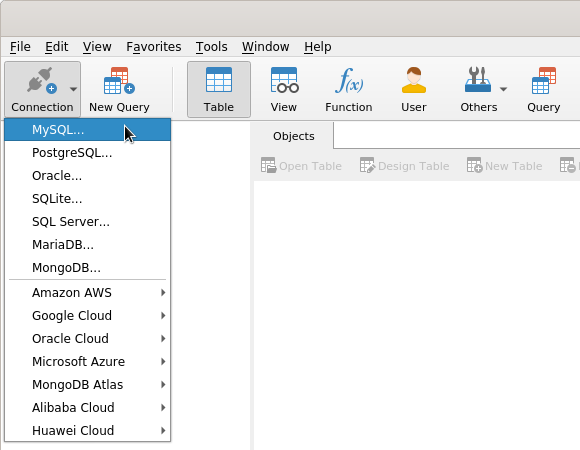
Create a new MySQL or MariaDB connection. Do not select the menu item Amazon AWS.
Step 2

Provide the database access details in the tab General as shown in the screenshot above. Note that the host name reads localhost. The user name and password are shown when you log-in to the EC2 instance using SSH. Do not click "OK" at this point but continue with the next step.
Step 3
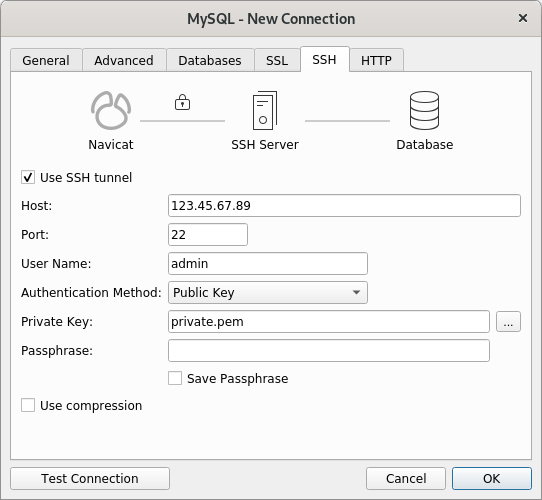
Open the tab SSH, enable the checkbox "Use SSH tunnel", and enter the access details of the EC2 instance. Adjust the IP address accordingly. Choose public key as the authentication method and enter the path and file name of your private key file (e.g. private.pem). Do not enable compression.
You can now test the connection and/or save the configuration by clicking on the "OK" button.
Step 4

The new connection is shown in the list. Double click the connection name or select Open Connection from the context menu.
Step 5
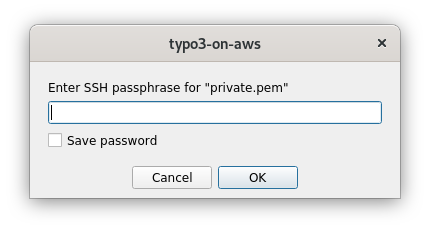
Assuming, you did not configure a password to use your private key (this is the default), leave this field empty and click the "OK" button. This should establish a connection to the server through SSH which a green icon indicates.
Step 6

Navicat lists all available databases. Double click the list entry "typo3cms" or select Open Database from the context menu.
Step 7
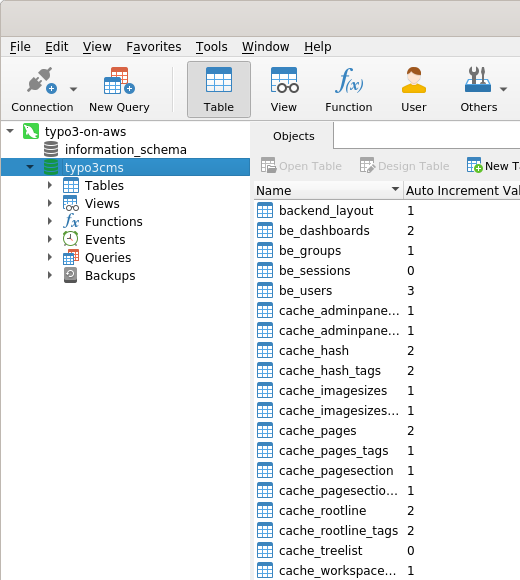
You can now access, manipulate, manage, export the data and the tables of the TYPO3 database.